
Today I needed to use - and install - DiG (Domain Information Groper!) on a Windows 10 box. Of course, Windows is useless when it comes to CLI tools - nslookup is past its prime and not even Windows 10 includes much by way of useful tools for DNS queries. It's shipped as part of the BIND9 DNS software from ISC.
So, let's see about DiG... Good news, everyone! - BIND9 is available for Windows, but I don't want to install the whole thing, ain't nobody got time for that. So, let's see about excerpting just the DiG executable and getting it so you can use it without specifying its full path every time, which will require setting its location in the PATH variable.
There's quite a few guides and tutorials to installing DiG on Windows. The simplest one I found was from Websistent, who recommended downloading their own zip of DiG and its necessary DLL dependencies, dropping those into windows\system32 (urk?) and using as normal.
We can do better than that:
- Download BIND9 from https://www.isc.org/download/ (grab the 32-bit or 64-bit Windows .zip distribution as necessary\)
- Extract this zip to a suitable folder. I tend to use
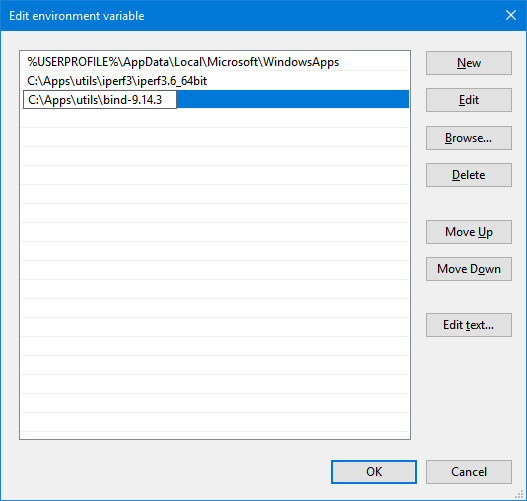
C:\apps\for this sort of stuff, so I would useC:\apps\utils\bind9as my directory. - For the finishing touch, edit your system's environment variables:
- Go Start → Run (or
Ctrl + R), enterrundll32.exe sysdm.cpl,EditEnvironmentVariablesand hit OK, or - Open the Environment Variables applet via Control Panel → All Control Panel Items → System → Advanced System Settings → Advanced tab, or
- Choose Change my environment variables from the Tasks section on the User Accounts control panel, or
- Use one of the many other options listed on this SU article
- Go Start → Run (or
- Add the full path from Step 2 into the User variables "Path" entry:
After OKing that dialog and the underlying Environment Variables dialog, you should be able to immediately use DiG without typing a full path! Very handy.
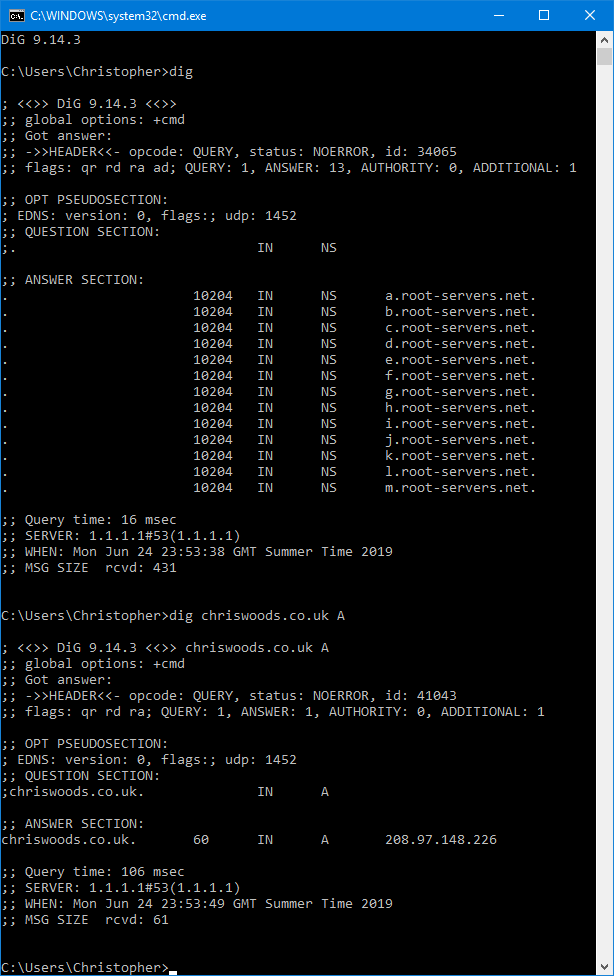
No BIND installation required, no mucking about with DLLs in your system32 directory - easy as that, and very simple to update. I went with BIND9.14.3 but you can use whatever version you like. Congrats, your DiG installation on Windows is complete. Happy querying!
I am working on an ISOLATED prototype system consisting of a windows 10 PC and two industrial controllers - no DNS server. I want to be able to talk between these controllers but looks like I need to resolve host to IP.
- if I ref controller B from controller A using the host name I get "Can't find address"
- if I ref controller B from controller A using the IP address I get "public certificate doesn't match"
(I create certificates for each controller using its host name)
(The PC can get to each controller using the host name after I upload the public cert on the PC. )
(It is as though the PC creates entries in the hosts file.)
Neither of the controllers implements a hosts file but tries to use DSN to find an address.
All communication between controllers uses HTTPS.
If I could hard-code something on the PC to resolve the address that would be awesome!
(Only concerned about two IP addresses - after work is complete on the prototype system, I will be in a network that has a DNS.)