
I've used Razer mice for years, specifically the venerable DeathAdder. I've tried loads of other mice, including the competition (G502 etc) which are impressive but just don't feel quite right to me. My Deathadder hall of fame (or, the drawer next to my desk) consists of many of the DA models, all used extensively until either destruction or upgrade - starting with the original model, through the various models with their upgraded sensors or higher DPI, until the most recent purchases of the DeathAdder Elite (wired) and the DeathAdder V2 Pro (wired/wireless).
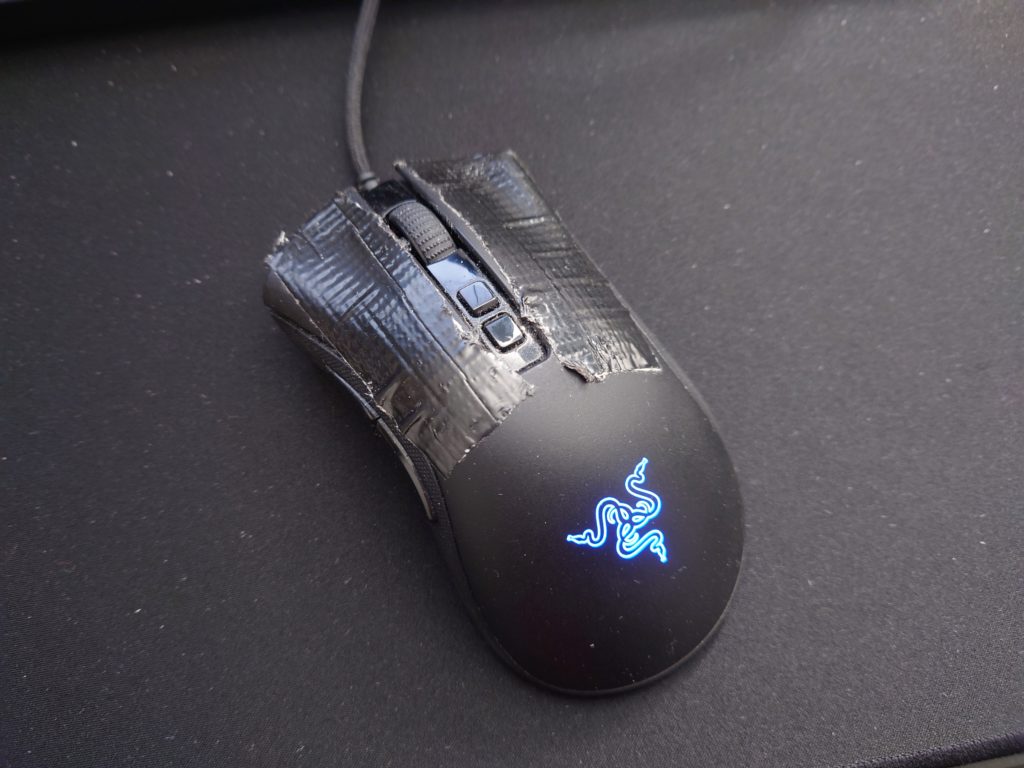
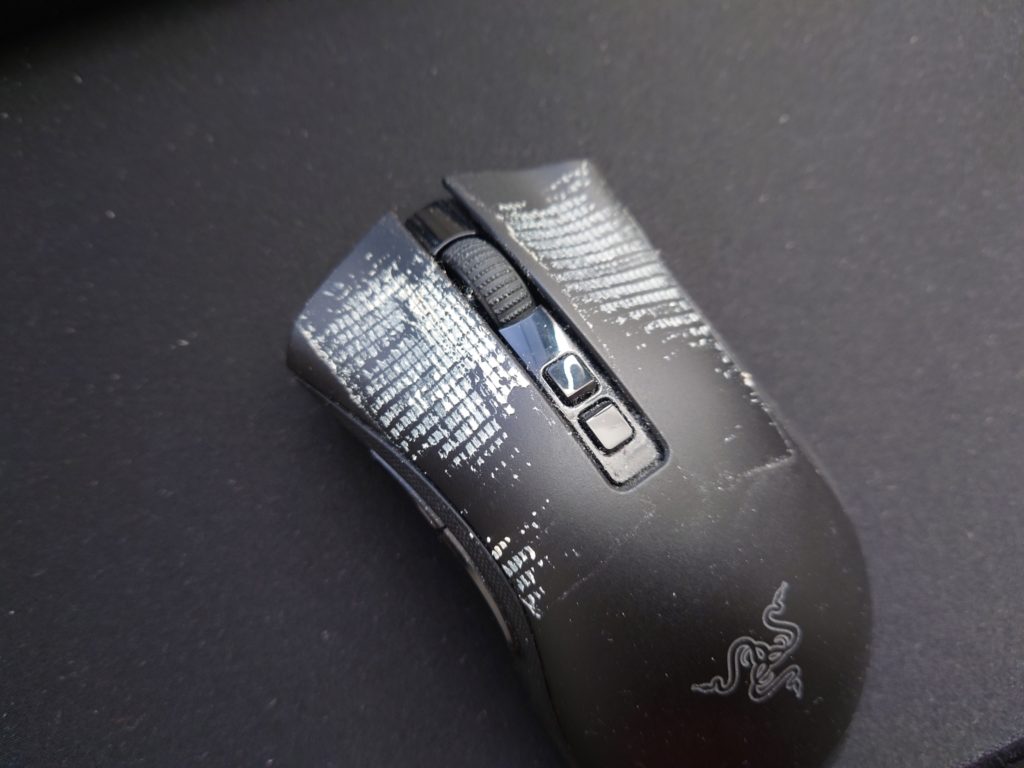
However, as I have Sandpaper Fingers (super dry skin which is quite abrasive), the textured top surface and the silicone side rubber grips quickly get worn down to smooth, shiny surfaces, which I hate. But there is a solution... grip tape!
I used to do the northern thing of bodge some gaff tape on to the mouse shell, where the fingers would sit over buttons, but it invariably looks ugly as it wears. In turn the tape also goes shiny, although Pro Gaff seems to wear best over time. Cheaper gaff tape leaves a nasty gluey residue if it's left applied for longer than a few months. It's cleanable but is always a sticky, messy job.
So, let's grab some proper anti-slip mod tape and clean the mouse up.
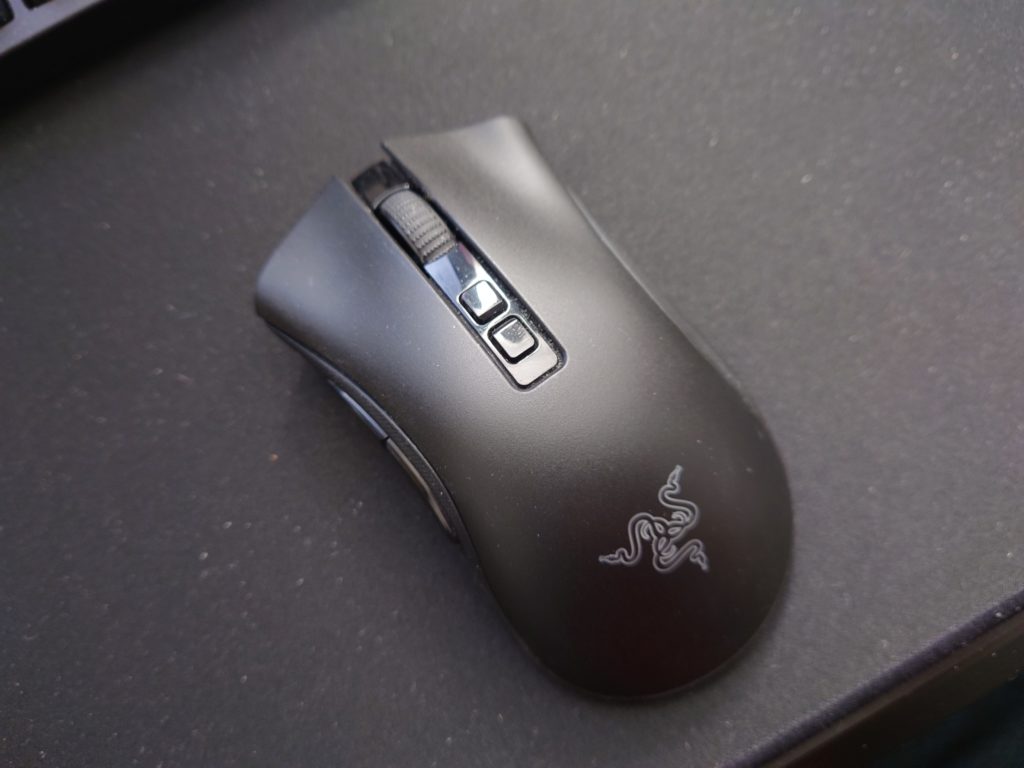
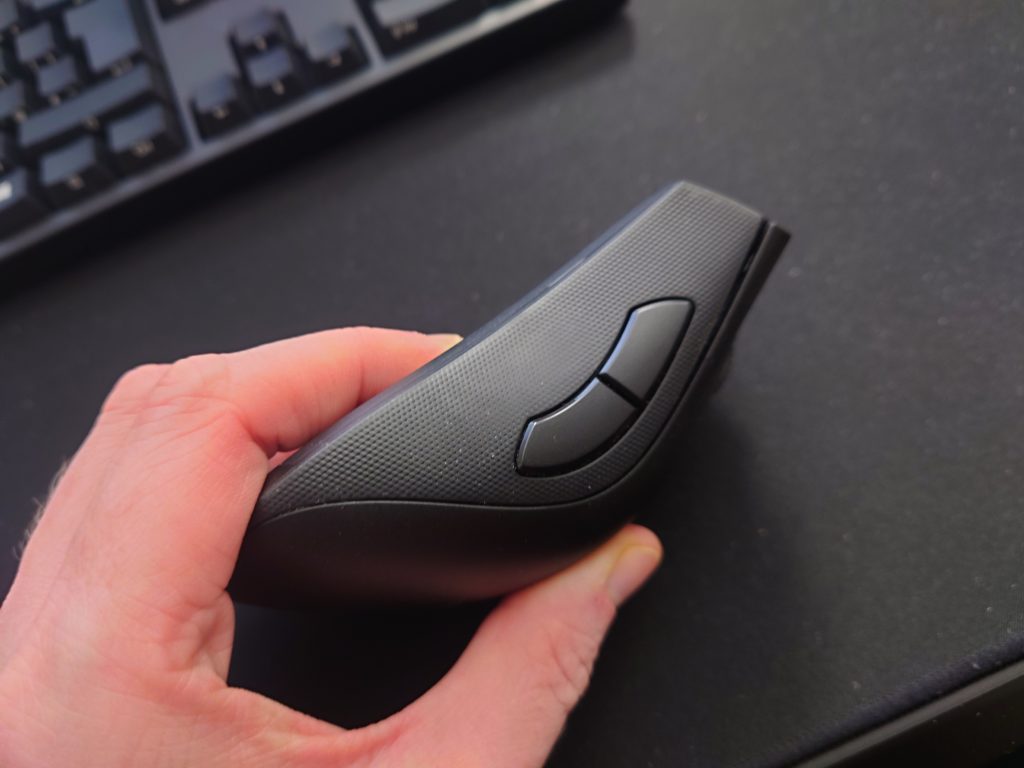
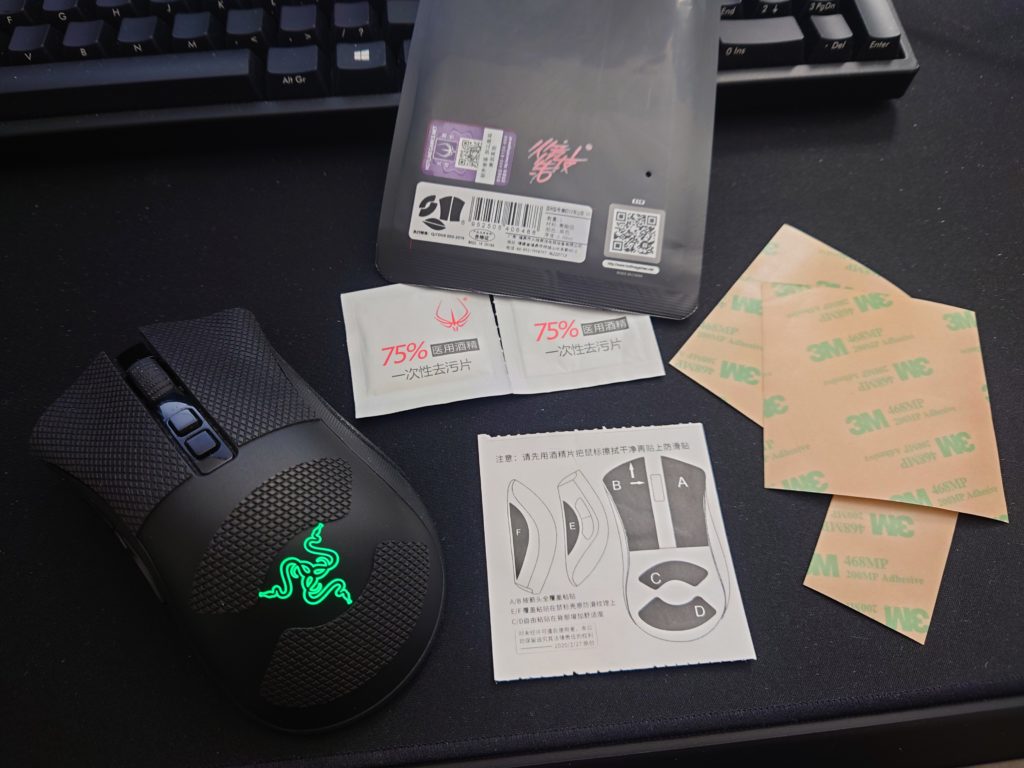
My DA V2 wireless fortunately has a nice precut product available: Hotline Games' "Side Stickers". The version I bought is specifically for the DA V2 Wireless (button shapes and sides are all slightly different across the range), and was a reasonable price on eBay. I decided to buy mine from an Australian seller though the product was drop-shipped from a UK fulfiller, which is fine by me. Much quicker than the AliExpress slow boat from China.
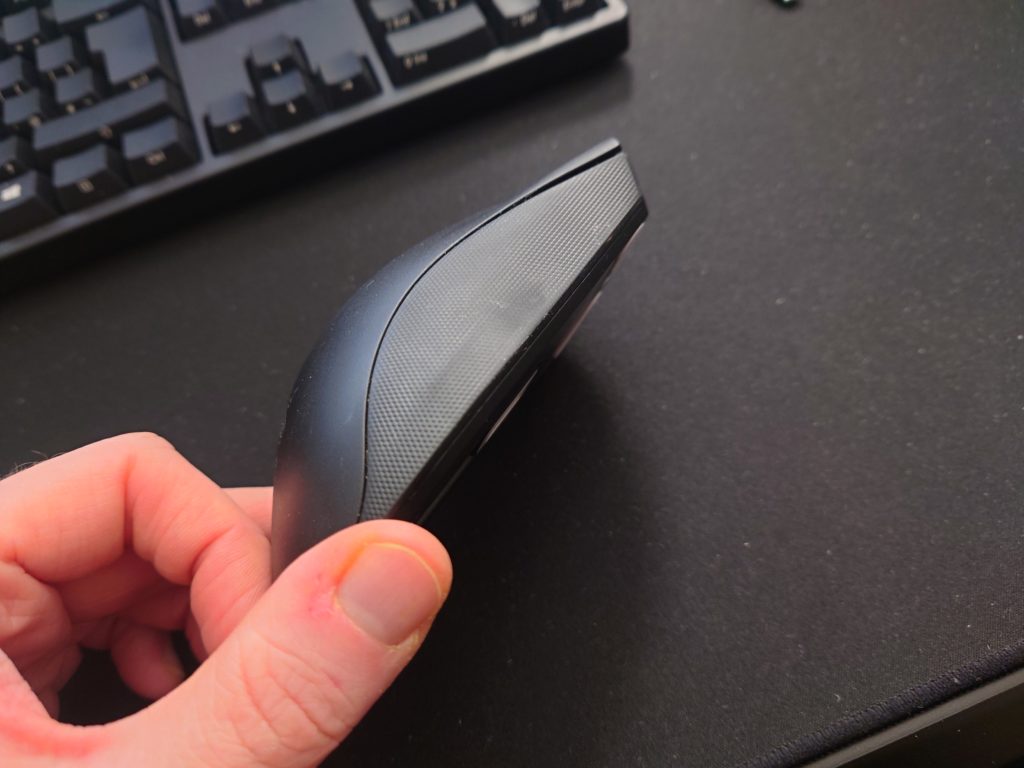
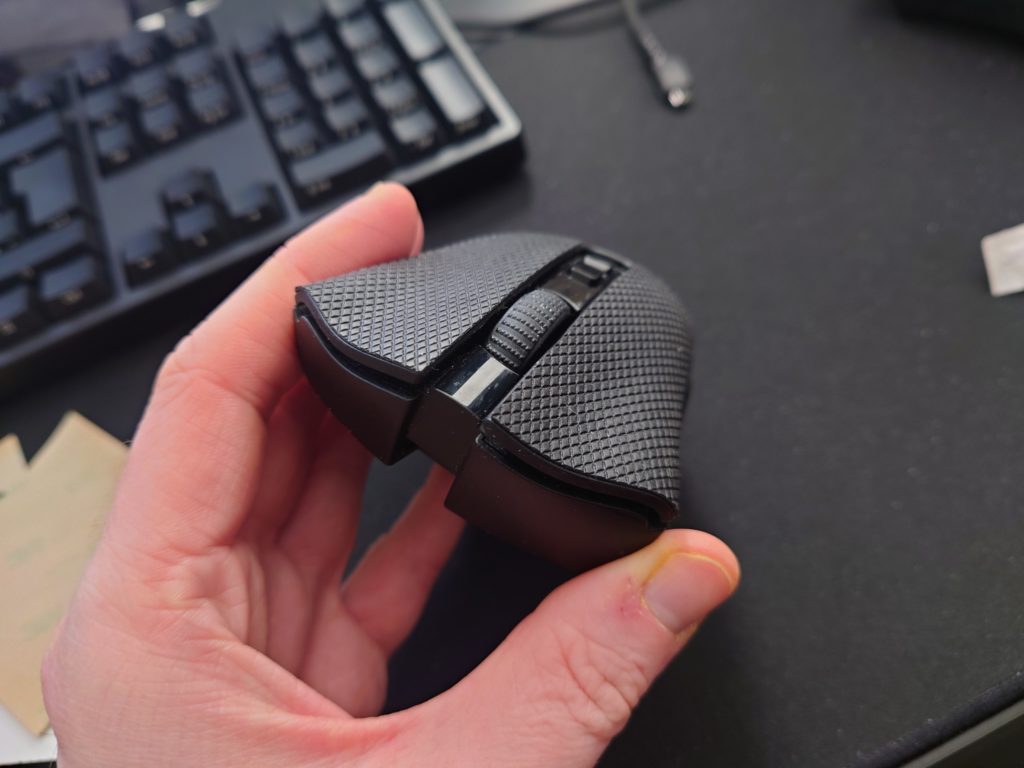
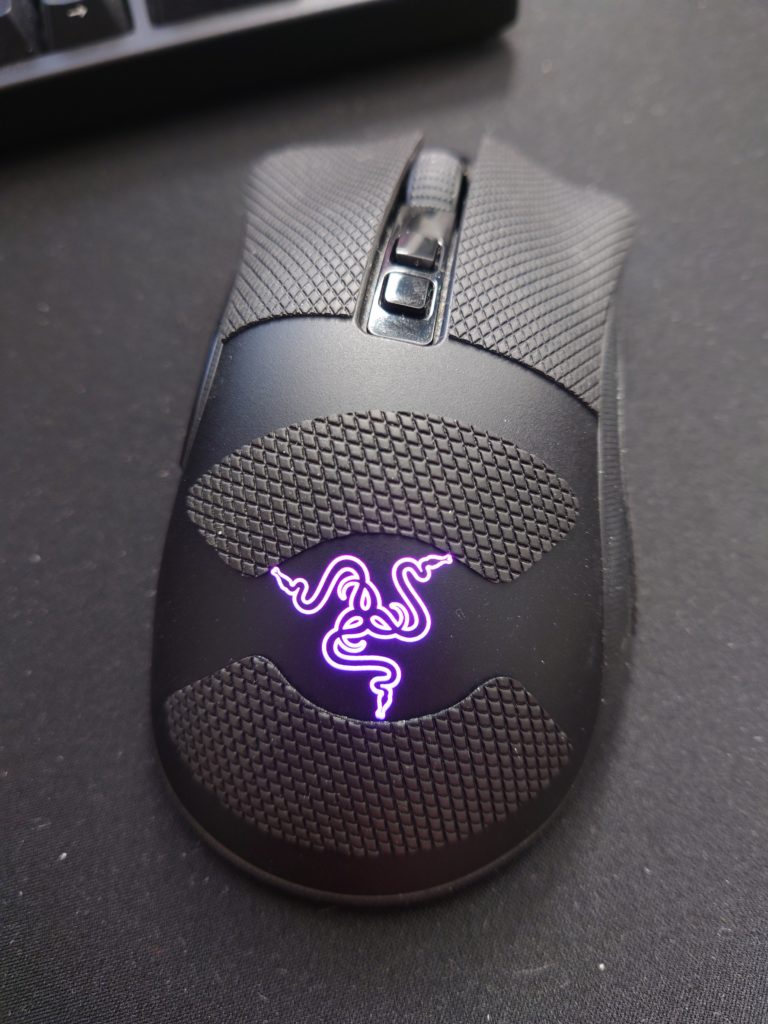
This is the mouse with my dodgy stopgap tape mod:
How was the application process?
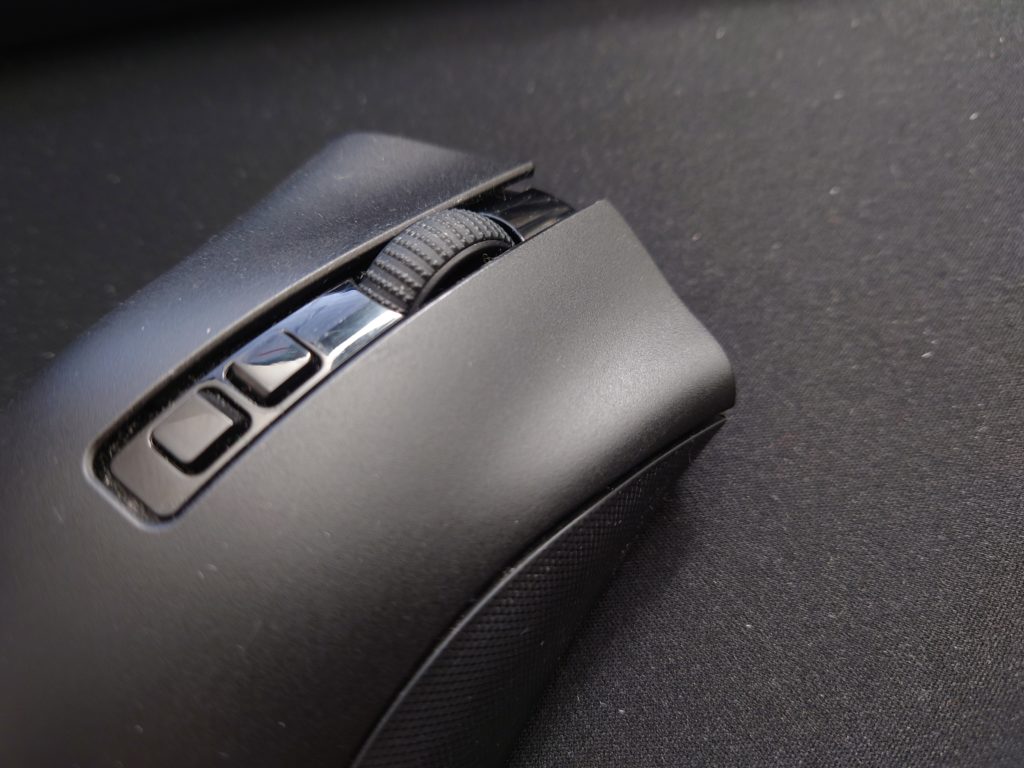
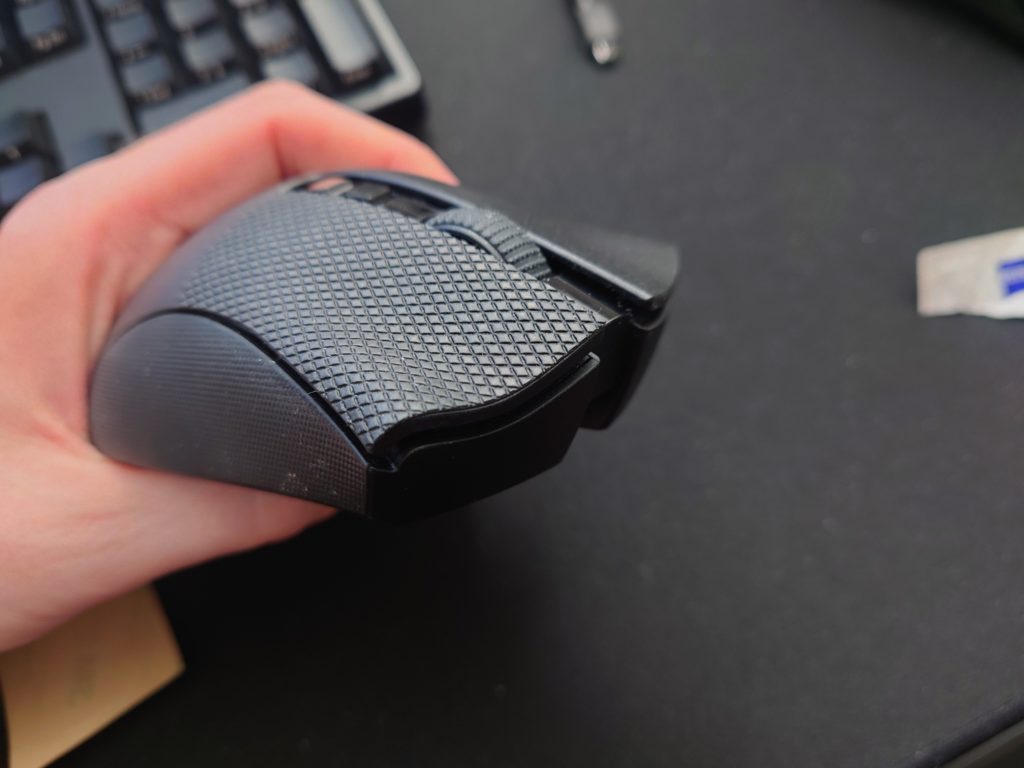
The pictorial instructions are easy to follow, each piece has a slightly different shape so it is fairly obvious. The pieces are cut from 3M sheets with a patterned surface texture larger than the stock, but that's fine. The pads' adhesive is tacky and mates well with the mouse surface, but you can peel it back several times to reposition - which I did a few times for each button to align the edges. No worries there, and application overall was quick and hassle-free... Once I'd finished cleaning the mouse.
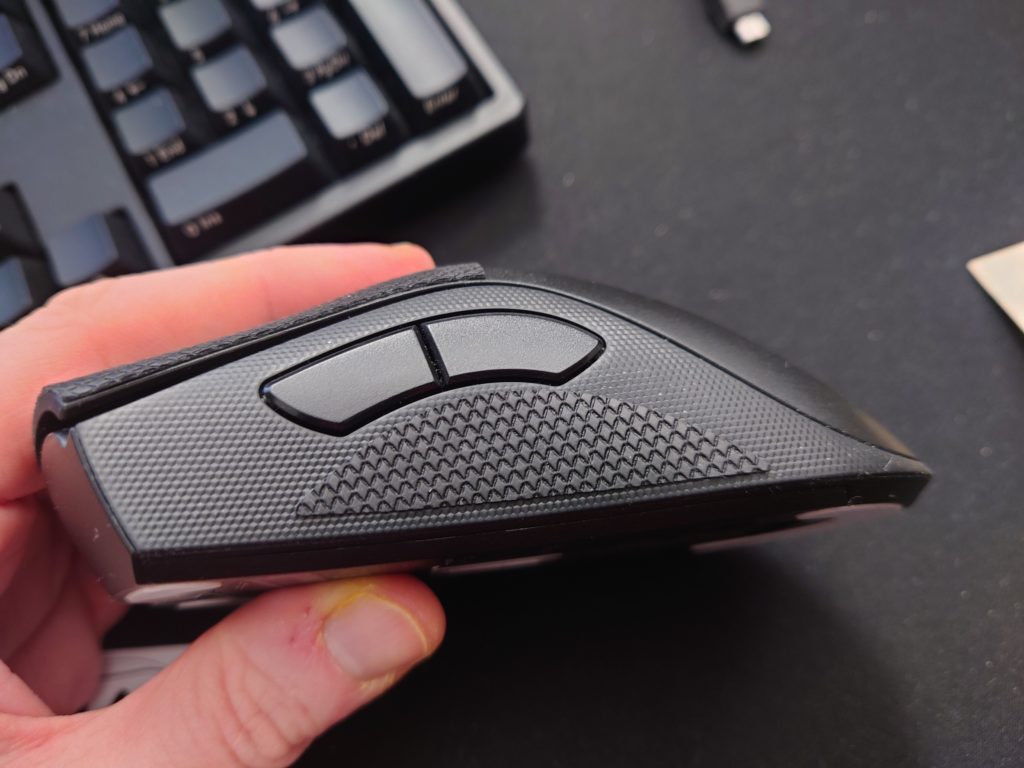
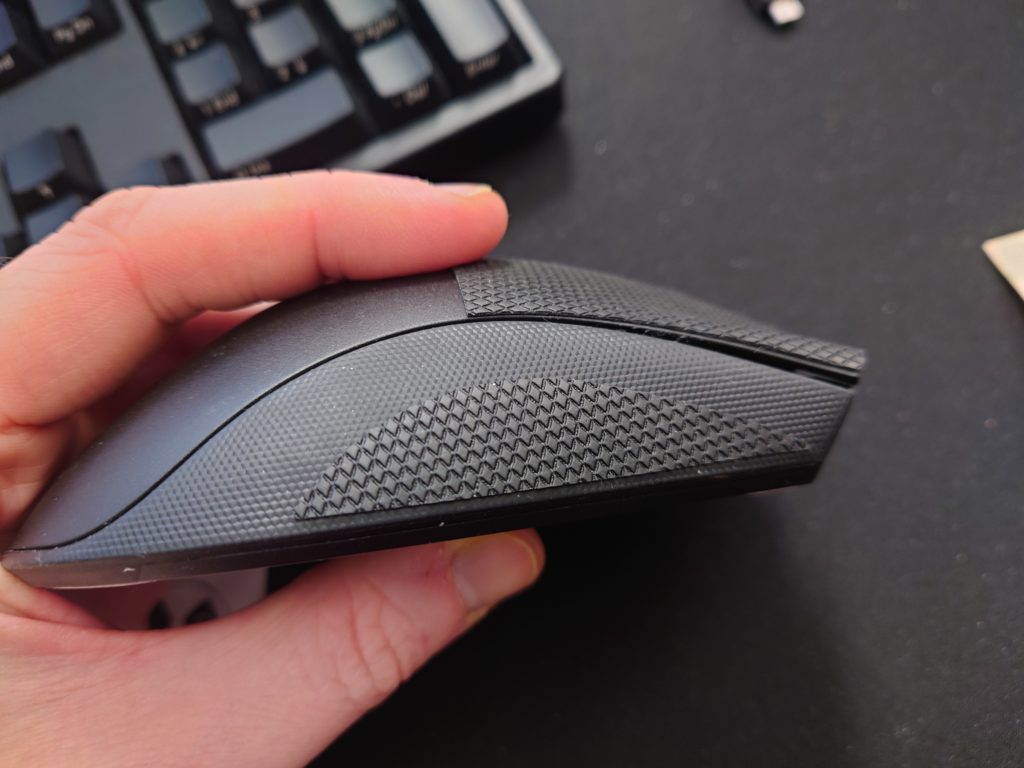
The pieces are nicely cut in decent thickness 3M material, no frayed edges or issues in the texture, and they fit the mouse precisely with a little leeway for placement on the side and palm pieces.
Final thoughts
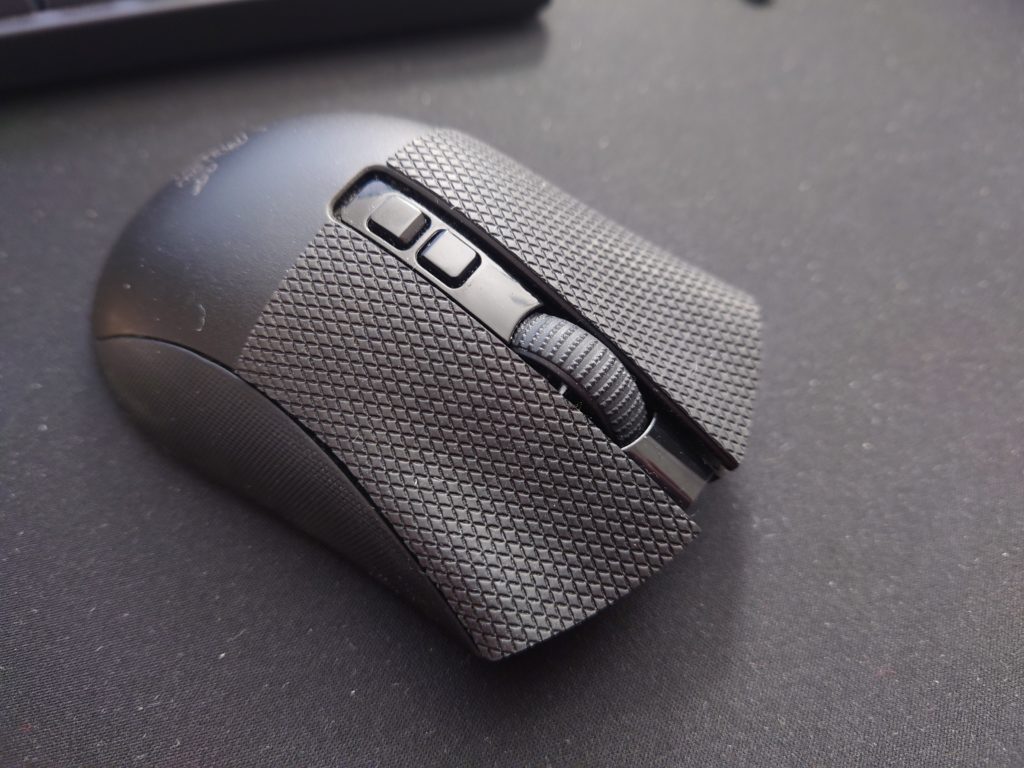
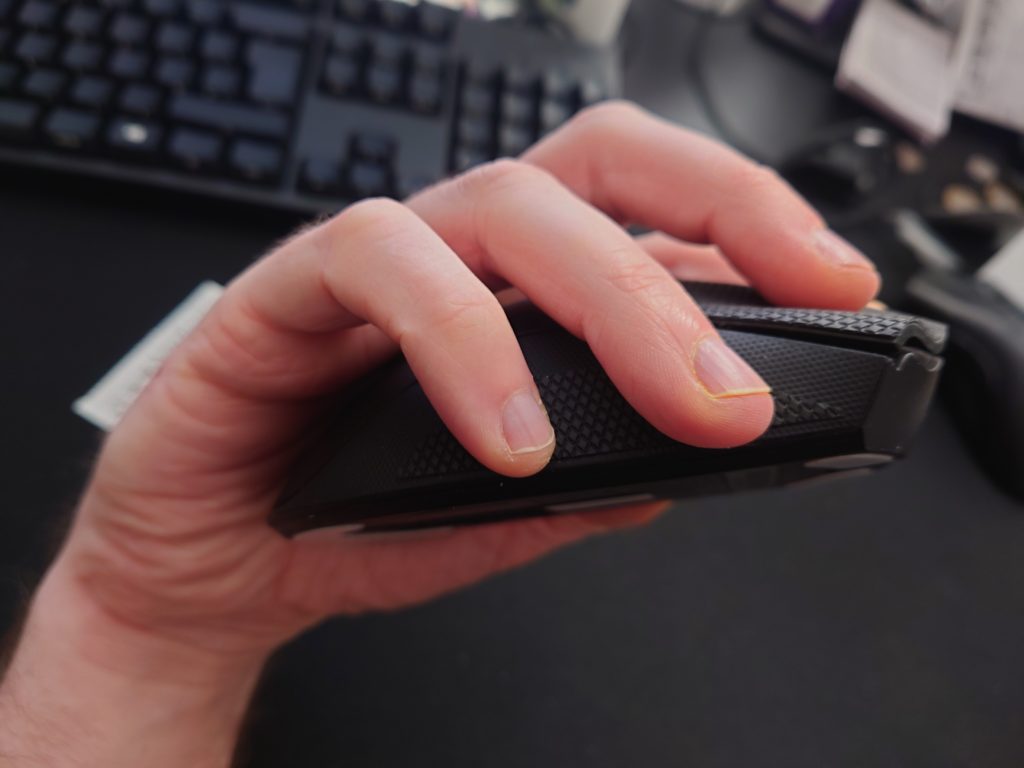
These grips have been on the mouse for precisely two days as of writing, so we'll see whether these silicone grips start to 'sweat' with time and how the adhesive holds up - I'll update the post in future.
I'm feeling somewhat confident because Hotline Games seems quite well known, alongside competitors like Lizard Skins, Dragon Skins, Corepads etc. Jaypher did a review in 2020 comparing some of these and other reviews abound.
Some more photos during the application process:


The cleaning wipes are worth using before you apply the stickers, finger grease is quite insidious and you'll have issues with the pads lifting if the surface is not squeaky clean. They're nice IPA-impregnated pads, on the slightly thicker side, but I used a handful of Zeiss lens wipes to finish the cleaning job and saving the second supplied wipe should I need it in future.
I'll see about sourcing another brand for my DA Elite so I can do some comparisons. I also need to replace the optical switch in my DA V2 as it's losing some of its click resistance (I bought the mouse second-hand, so not entirely surprised); I'll take some photos of that process and link to parts.